Beginners
Guide.
Step 1: Prepare Your Device
Check the holographic sticker to ensure it’s intact. Remove the sticker carefully and clean any residue to access the USB-C port.
Step 1: Prepare Your Device.
Check the holographic sticker to ensure it’s intact. Remove the sticker carefully and clean any residue to access the USB-C port.
Step 2: Connect & Get Online.
Step 3: Install the Application
Go to the Download page and install the BC Vault desktop application. After installation, open the application.
Step 3: Install the Application.
Go to the Download page and install the BC Vault desktop application. After installation, open the application.
Step 4: Set Up Security.
Create your Global PIN and Global Password to secure the whole device — make sure you remember them. Then set your wallet’s PIN/Password.
Wallet protection is optional, and all combinations are supported.
Verification is optional as well.
Step 5: Touchdown Successful
You’ve completed your setup and landed safely in the BC Vault ecosystem. Now it’s time to explore — manage your wallets, navigate your crypto portfolio, and keep your mission data secured with every new backup.
Step 5: Touchdown Successful.
You’ve completed your setup and landed safely in the BC Vault ecosystem. Now it’s time to explore — manage your wallets, navigate your crypto portfolio, and keep your mission data secured with every new backup.
 Basic Model
 BC Vault ONE
 Aluminium Edition
 BC Vault Gunmetal
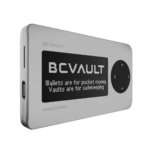 BC Vault Quicksilver
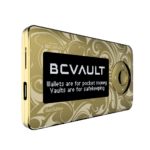 BC Vault Special Gold Edition
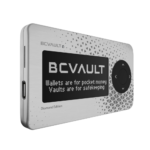 Custom BC Vault Quicksilver
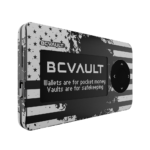 Custom BC Vault Gunmetal